article · Kitchen & bath surfaces
Tile layout: plan cuts, joints and transitions together
Planning tile and slab layouts indoors: proportion, pattern, grout lines, focal points, cuts, and transitions.
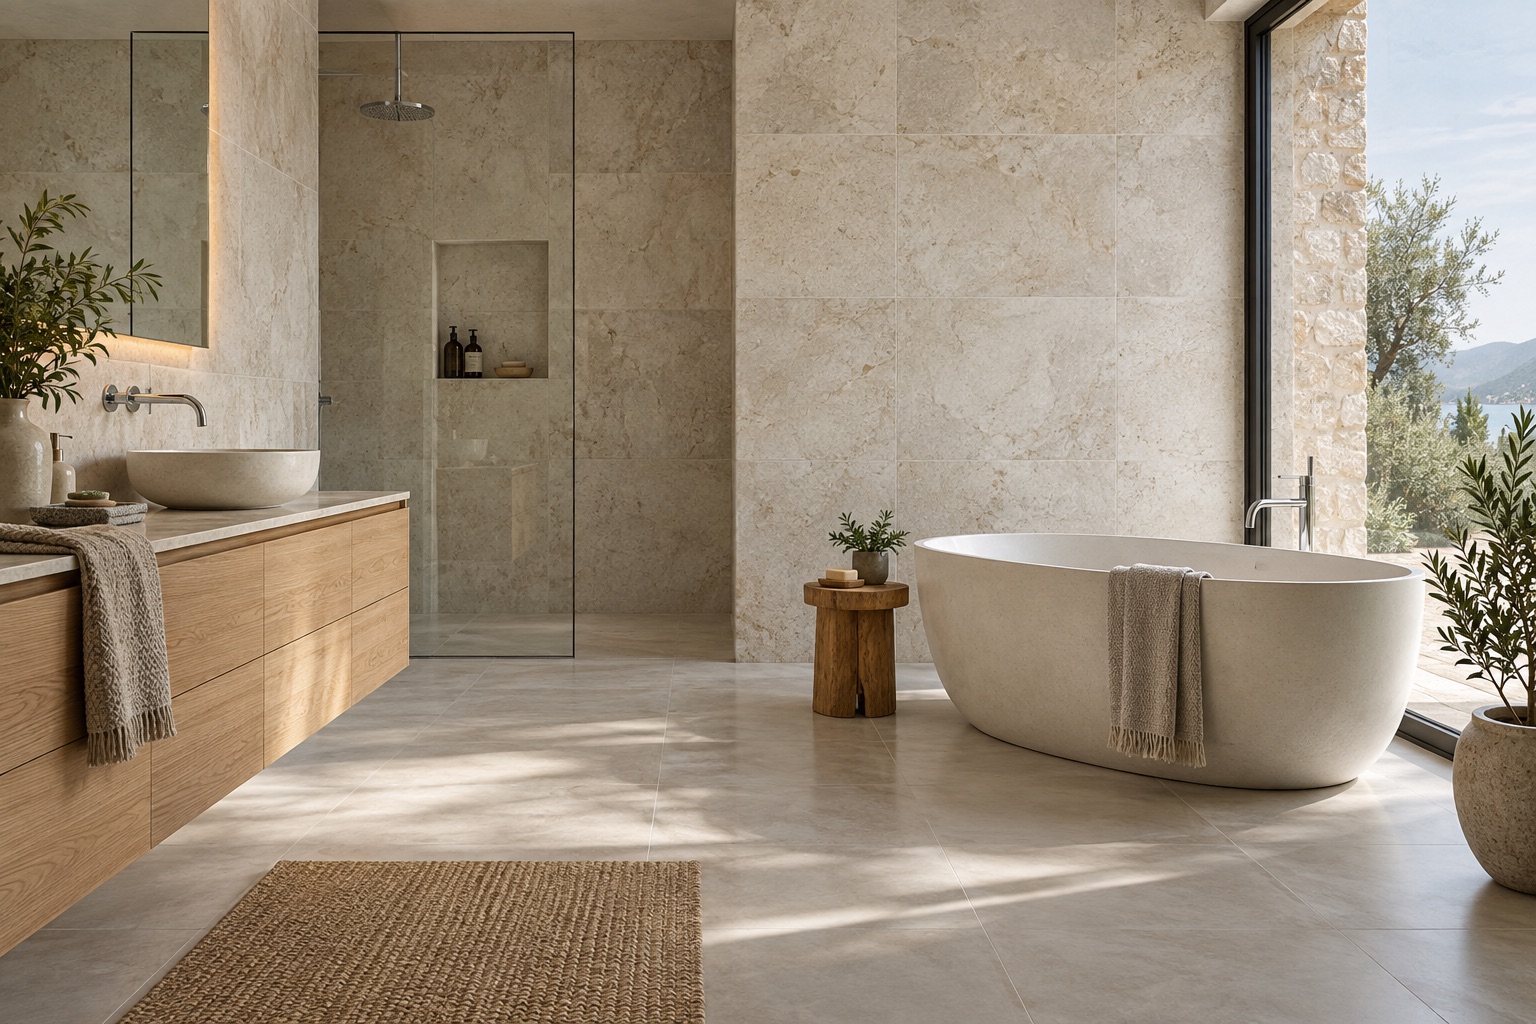
Layout is design
The same tile can look ordinary or exceptional depending on layout. Layout determines where the eye rests, how the room feels in scale, and how much material is wasted. It also determines where cuts fall, which is why it should be planned before setting rather than discovered during installation.
Start with the room's focal points: the entry, a window, a fireplace, a range, or a freestanding tub. Center the pattern on a focal point where it will be most visible, and accept less ideal cuts in hidden corners. A layout that centers on the wrong feature can make a good material look poorly considered.
Proportion, direction, and pattern
Tile proportion interacts with room proportion. Large rooms can carry large formats; small rooms can be overwhelmed by them or, conversely, made to feel larger with fewer grout lines. Rectangular tiles can be laid in a grid, offset, or herringbone, each with a different visual effect and different cutting waste. Direction can emphasize length or width.
Ask for a layout drawing showing the pattern, direction, and starting point. Consider how the pattern will meet doorways, cabinets, and adjacent rooms. Where the tile continues into another space, decide whether grout lines align and how the transition is handled.
Grout lines and color
Grout line width and color affect the look as much as the tile. Thin lines create a more continuous surface; wider lines can add definition or hide dimensional variation. Contrasting grout highlights the pattern, while matching grout minimizes it. Grout choice also affects maintenance, since some grouts are more stain-resistant than others.
Ask what grout width the product requires and what type is suitable for the application, especially in wet areas. Ask how the grout color will age and how it should be cleaned. The manufacturer's guidance and the installer's experience should inform the choice.
Cuts and edges
Cuts are unavoidable, but their location and quality can be controlled. Avoid narrow slivers at visible edges by adjusting the starting point or layout. Plan cuts at inside corners, behind appliances, or under cabinets where possible. Finished edges at exposed corners should be planned with trim, miters, or profiles rather than left raw.
Ask who cuts and finishes the edges and what the result will look like. For stone and large-format tile, ask about the equipment and method used. A clean edge detail is a mark of quality and is difficult to add later.
Transitions and movement joints
Transitions between tile and other materials, and between tile and the exterior, need a detail. Movement joints are required at changes in plane, at perimeters, and where materials move differently. These joints should be designed and installed with the appropriate profile or sealant, not filled with rigid grout.
Ask the designer or installer to detail each transition and movement joint. Ask how they will be maintained. On projects that connect indoor and outdoor surfaces, confirm the levels and the door threshold detail early, because correcting them after installation is costly.
Let installation requirements inform the drawing
Crossville’s porcelain instructions address layout and installation requirements for its products and refer separately to porcelain panels. Use the guidance for the actual selected format rather than assuming that a large slab follows the same detail as a small tile. Prepare a drawing showing focal areas, cut locations and transitions, then ask the installer to identify any conflict with required joints, substrate preparation or handling before material is ordered.